How Often Should I Service My Boiler?
How Often Should I Service My Boiler? Table of Contents Picture this: it’s the middle of winter, your home is

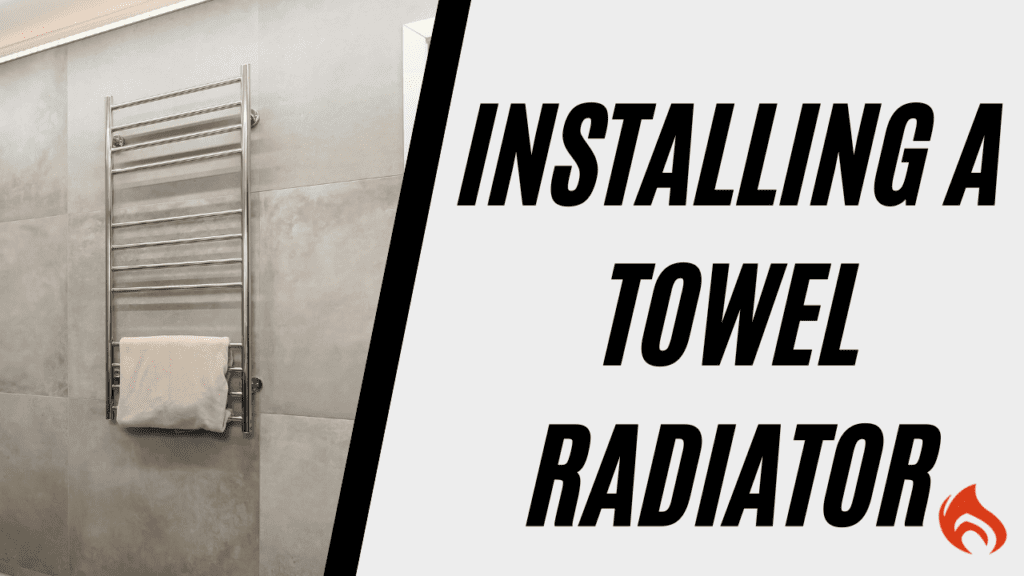
Towel radiators are a stylish and practical addition to any bathroom, providing warmth and comfort while keeping towels dry and cosy. If you’re considering upgrading your bathroom with a towel radiator, this guide will walk you through the benefits and the installation process step by step.
A towel radiator is a practical and stylish addition to any bathroom, offering both functional and aesthetic benefits. Here’s why you might want to consider installing one:
✅ Warmth & Comfort – A towel radiator provides a continuous source of warmth, ensuring your bathroom stays cosy, especially during colder months. Stepping out of the shower or bath into a warm space enhances comfort and luxury.
✅ Dry Towels – No more damp, musty-smelling towels! A towel radiator helps keep your towels dry and fresh between uses, reducing the chances of mildew and bacteria buildup.
✅ Energy Efficiency – Modern towel radiators are designed to be energy-efficient, meaning they can provide warmth without significantly increasing your energy bills. Some models can even operate independently of your central heating system, allowing for selective heating when needed.
✅ Aesthetic Appeal – Towel radiators come in various styles, from traditional column designs to sleek, contemporary models. They can enhance the look of your bathroom and add a touch of modern elegance.
✅ Space-Saving – Wall-mounted towel radiators free up floor space, making them ideal for smaller bathrooms or en-suites. They also help declutter by providing a designated spot to hang towels.
✅ Versatility – Some towel radiators double as a heating solution for the entire bathroom, especially in smaller spaces. Electric models allow for year-round use, even when the central heating is off.

❌ Initial Cost – Installing a towel radiator can be more expensive than a standard towel rail, especially if plumbing or electrical work is required.
❌ Limited Heat Output – While they provide warmth, smaller towel radiators may not be sufficient to heat larger bathrooms effectively. In such cases, they should be used alongside another heating source.
❌ Installation Requirements – Depending on the type of towel radiator (electric or plumbed), installation can be complex, requiring professional help, which adds to the overall cost.
❌ Running Costs – Although energy-efficient models are available, an electric towel radiator could increase electricity bills if left running for extended periods.
❌ Drying Time – While towel radiators do help keep towels dry, they don’t dry them as quickly as a tumble dryer or heated airer, especially in cooler months.
Tools & Materials You’ll Need:
Towel radiator
Radiator valves
Pipe wrench
Adjustable spanner
Pipe cutter
PTFE tape
Wall brackets and fixings
Drill and wall plugs
Spirit level
Screwdriver
📹 Prefer to watch instead of read? Watch our Cheshire Boilers engineer fit a towel radiator in this step-by-step installation video!
Before starting, turn off your central heating system and allow the existing radiator (if replacing one) to cool down completely.
If you’re replacing an old radiator, locate the drain valve and carefully drain the system to prevent water spills. Have a bucket and towels handy.
Loosen the radiator valves using an adjustable spanner and carefully lift the radiator off its wall brackets. Be prepared for any remaining water to spill.
Hold the new towel radiator against the wall in the desired position. Use a spirit level to ensure it’s straight and mark the bracket fixing points with a pencil.
Drill into the marked points, insert the wall plugs, and secure the radiator brackets using screws. Double-check that they are level before proceeding.
If your towel radiator requires new pipework, measure and cut the pipes to fit.
Wrap PTFE tape around the radiator valve threads to create a watertight seal.
Connect the radiator valves securely using a pipe wrench.
Lift the radiator onto the mounted brackets and ensure it is securely in place. Tighten the valves to secure the connections.
Refill your heating system and bleed the radiator to remove any trapped air.
Turn on the heating and check for leaks. Tighten any fittings if necessary.
Once the radiator is heating up properly, you’re all set!

How Often Should I Service My Boiler? Table of Contents Picture this: it’s the middle of winter, your home is

Combi Boiler vs Conventional Boiler: What’s the Difference? Table of Contents Choosing the right boiler for your home isn’t just