How Often Should I Service My Boiler?
How Often Should I Service My Boiler? Table of Contents Picture this: it’s the middle of winter, your home is

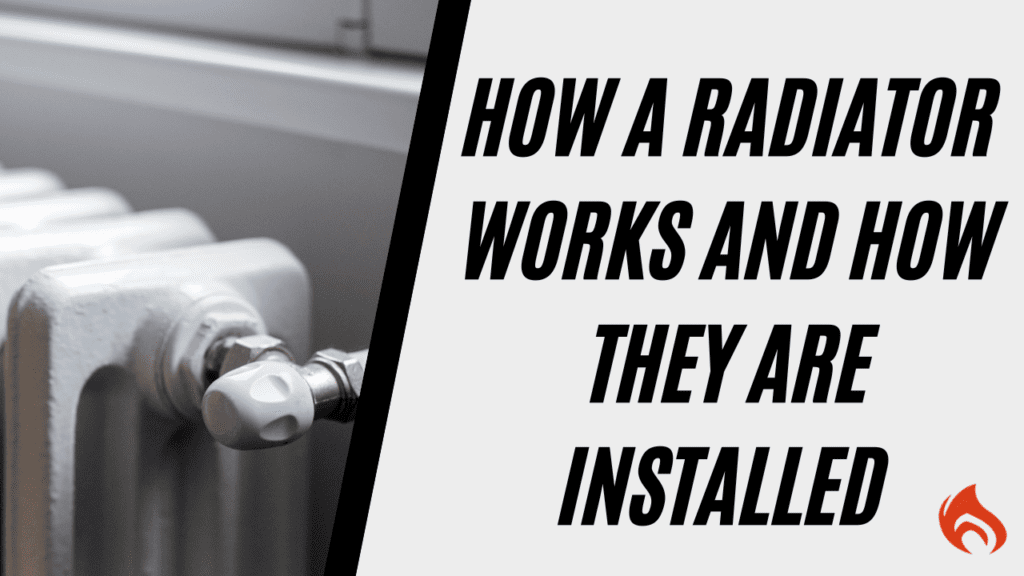
Radiators are an essential component of home heating systems, helping to keep houses warm and comfortable during colder months. But have you ever wondered what exactly a radiator is and how it works? In this blog, we’ll break down everything you need to know about radiators, from their function to the different types available.
A radiator is a heat exchanger designed to transfer thermal energy from one medium to another. In residential and commercial heating systems, radiators are used to distribute warmth generated by a central heating system, typically powered by a boiler. They are commonly found in homes, offices, and industrial buildings, playing a crucial role in regulating indoor temperatures.
A radiator functions by circulating hot water or steam through a series of metal fins or panels, which then radiate heat into the surrounding air. Here’s a step-by-step look at how a typical radiator system operates:

There are several different types of radiators, each with unique features and benefits. The most common types include:
Radiators offer several advantages, making them a popular choice for home heating:
Radiators play a crucial role in home heating, providing warmth and comfort through efficient heat transfer. Whether you have a traditional panel radiator or a modern electric version, understanding how they work can help you make informed decisions about heating your home. If you’re considering upgrading your heating system, exploring different radiator options can help improve energy efficiency and overall comfort.
Installing a radiator might seem like a daunting task, but with the right approach and tools, you can do it efficiently and effectively. This guide will take you through the process step by step, ensuring a secure and professional installation.
Radiator
Measuring tape
Spirit level
Pencil
Drill
Rawl plugs
Screws
Screwdriver
If you prefer watching over reading, check out our video to see how our engineers at Cheshire Boilers hang radiators with precision! 🎥👇
Before you start, carefully unbox the radiator and check for any damage or missing parts. Ensure that all necessary brackets, screws, and raw plugs are included.
Manufacturers often cover radiators with a protective plastic film to prevent scratches during transportation. Remove this plastic to reveal the clean surface of the radiator.
Start by measuring the width of the wall where you’ll be installing the radiator. If the customer hasn’t specified a particular placement, finding the centre point is a good rule of thumb. Mark this centerline on the wall using a pencil.
Find the centre of the radiator and align it with the centre mark on the wall. This ensures even heat distribution and a balanced look.
Radiators typically have hanging brackets that secure them to the wall. Identify these brackets on the back of the radiator, mark their centre points, and then move the radiator away from the wall.
The height of the radiator installation depends on the surroundings. If there’s a window above, measure from the floor to the sill. Otherwise, find the best height for efficiency and aesthetics. The average placement is around 9 inches (23 cm) from the floor, plus the bracket height.
Using the previous bracket marks as a guide, mark the spots where you’ll drill holes for the screws. Ensure that the marks are level for a straight and secure fit.
Drill the holes in the marked spots, then insert raw plugs to provide a sturdy foundation for the screws.
Screw the first bracket into place, ensuring it is firmly secured to the wall.
Using a spirit level, mark a horizontal line across to the location of the second bracket. This ensures the radiator will sit level when installed.
Align the second bracket with the marked line. Check that both the vertical and horizontal alignments match the first bracket before marking the holes. Drill the holes, insert rawl plugs, and screw the second bracket into place.
Place a spirit level across both brackets to confirm they are level. Adjust if necessary before proceeding.
Once the brackets are correctly installed and level, carefully lift the radiator and hang it onto the brackets. Ensure it is securely in place.
Double-check that the radiator is stable and level. Depending on the radiator type, additional steps such as connecting valves or bleeding the radiator may be required.
By following these steps, you’ll have your radiator securely installed and ready to provide efficient heating. Whether it’s a simple swap or a new installation, taking the time to measure and align everything properly will ensure a professional and polished result.

How Often Should I Service My Boiler? Table of Contents Picture this: it’s the middle of winter, your home is

Combi Boiler vs Conventional Boiler: What’s the Difference? Table of Contents Choosing the right boiler for your home isn’t just